Discovered from Samin Nosrat
I discovered Samin Nosrat on the Netflix documentary series “Salt Fat Acid Heat,” which led me to purchase her James Beard award-winning book by the same name. I love to watch cooking reels on Facebook, read cookbooks like they are novels, and scour the New York Times food section for inspiration. These spark my creativity and motivation. Samin Nosrat’s enthusiasm for cooking is infectious. It made me throw caution to the wind and try something new, like this buttermilk chicken recipe.
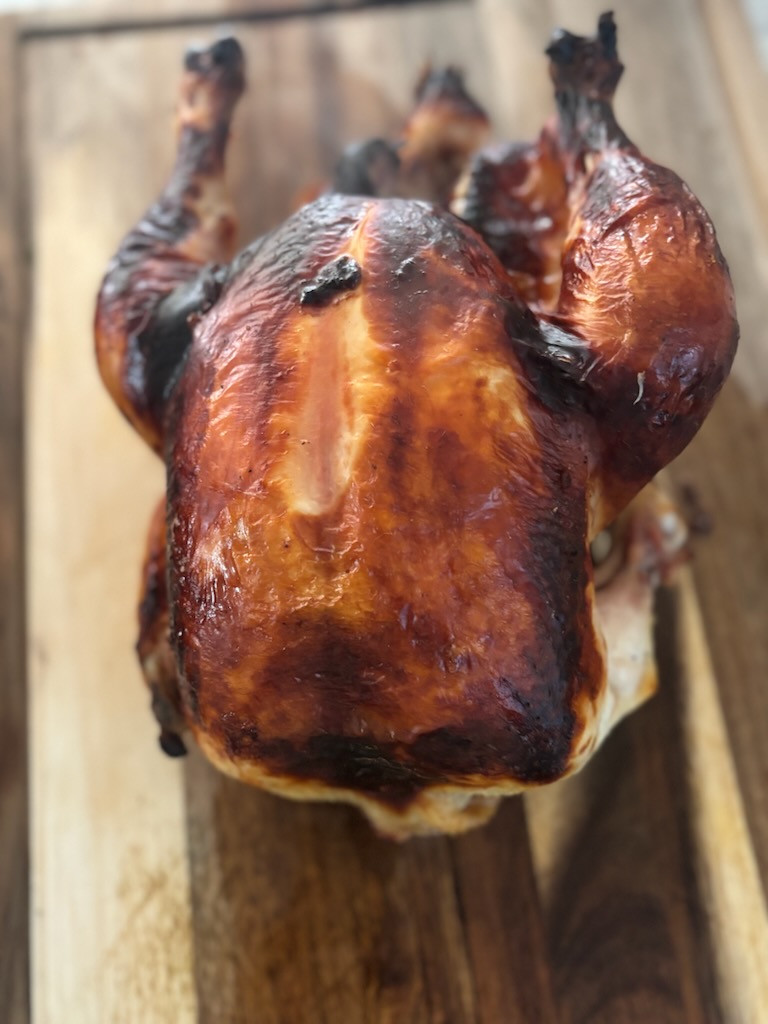
It turns out that this recipe was inspired by the Southern method of marinating chicken overnight in buttermilk before deep-frying it. But it had one big difference: you will be roasting the chicken, not frying. Is this where the genetic roots of Missouri meet the healthier conscious mindset of California? My taste buds say yes. All I know is that the buttermilk and salt work like a brine, tenderizing the meat to make an unbelievably juicy chicken. The sugars in the buttermilk caramelize when cooking and make the skin brown.
Ingredients
- 4 lb Chicken
- 2 T Kosher Salt plus more for salting the chicken (make it heaping tablespoons)
- 2 C Buttermilk
Directions
- The day before you want to cook the chicken, remove the wingtips by cutting through the first wing joint with a sharp knife. Season it generously with salt and let it sit for 30 minutes.
- Stir two tablespoons of kosher salt into the buttermilk. Place the chicken in a gallon-size resealable plastic bag and pour in the buttermilk. If the chicken won’t fit in a gallon-size bag, use two plastic produce bags instead, securing them with twine to prevent leakage.
- Seal it, squish the buttermilk all around the chicken, and refrigerate. Over the next 24 hours, turn the bag so every part of the chicken gets marinated.
- Pull the chicken from the fridge an hour before you plan to cook it. Preheat the oven to 425°F, with a rack set in the center position.
- Remove the chicken from the plastic bag and scrape off as much buttermilk as you can. Tightly tie together the legs of the chicken with a piece of butcher’s twine. Place the chicken in a 10-inch cast-iron skillet.
- Slide the pan all the way to the back of the oven on the center rack. Rotate the pan so that the legs are pointing toward the rear left corner and the breast is pointing toward the center of the oven (the back corners tend to be the hottest spots in the oven, so this orientation protects the breast from overcooking before the legs are done).
- After about 20 minutes, when the chicken starts to brown, reduce the heat to 400°F and continue roasting for 10 minutes. Then, move the pan so the legs are facing the back right corner of the oven.
- Continue cooking for another 30 minutes or so, until the chicken is brown all over and the juices run clear when you insert a knife down to the bone between the leg and the thigh.
- When the chicken’s done, remove it to a platter and let it rest for 10 minutes before carving and serving.
 Mangia by Pia